How Do I Connect Google Ads to Shopify? (2026)


Running Google Ads without connecting them to your store means flying blind. You see clicks and impressions but never know which campaigns actually generate revenue, which products convert and where your budget is wasted. So how do you connect Google Ads to Shopify in 2026?
The connection runs through the official Google & YouTube app available in the Shopify App Store. Installing it links your Google Merchant Center and your Google Ads account to your store, syncs your product catalogue automatically and sets up conversion tracking without manual code.
The process takes four steps. You install the app from your Shopify admin. You connect or create your Google Merchant Center and Google Ads accounts. You sync your product catalogue, which pushes your titles, prices, images and stock levels to Merchant Center. And you verify conversion tracking so purchases flow back into Google Ads.
Several prerequisites matter before you start. Your store needs a custom domain, a public storefront rather than a password-protected one, clear shipping and return policies, and products complying with Google's Shopping requirements.
Two points deserve attention once connected. Enhanced Conversions significantly improves your attribution accuracy by sending hashed customer data back to Google, which matters increasingly as third-party cookies disappear. And your product feed quality determines your Shopping performance far more than your bidding strategy, since Google matches queries to your titles and attributes.
A final consideration shapes everything downstream. Connecting the accounts gives you data on your own performance, but it tells you nothing about what competitors are doing with the same keywords and products.
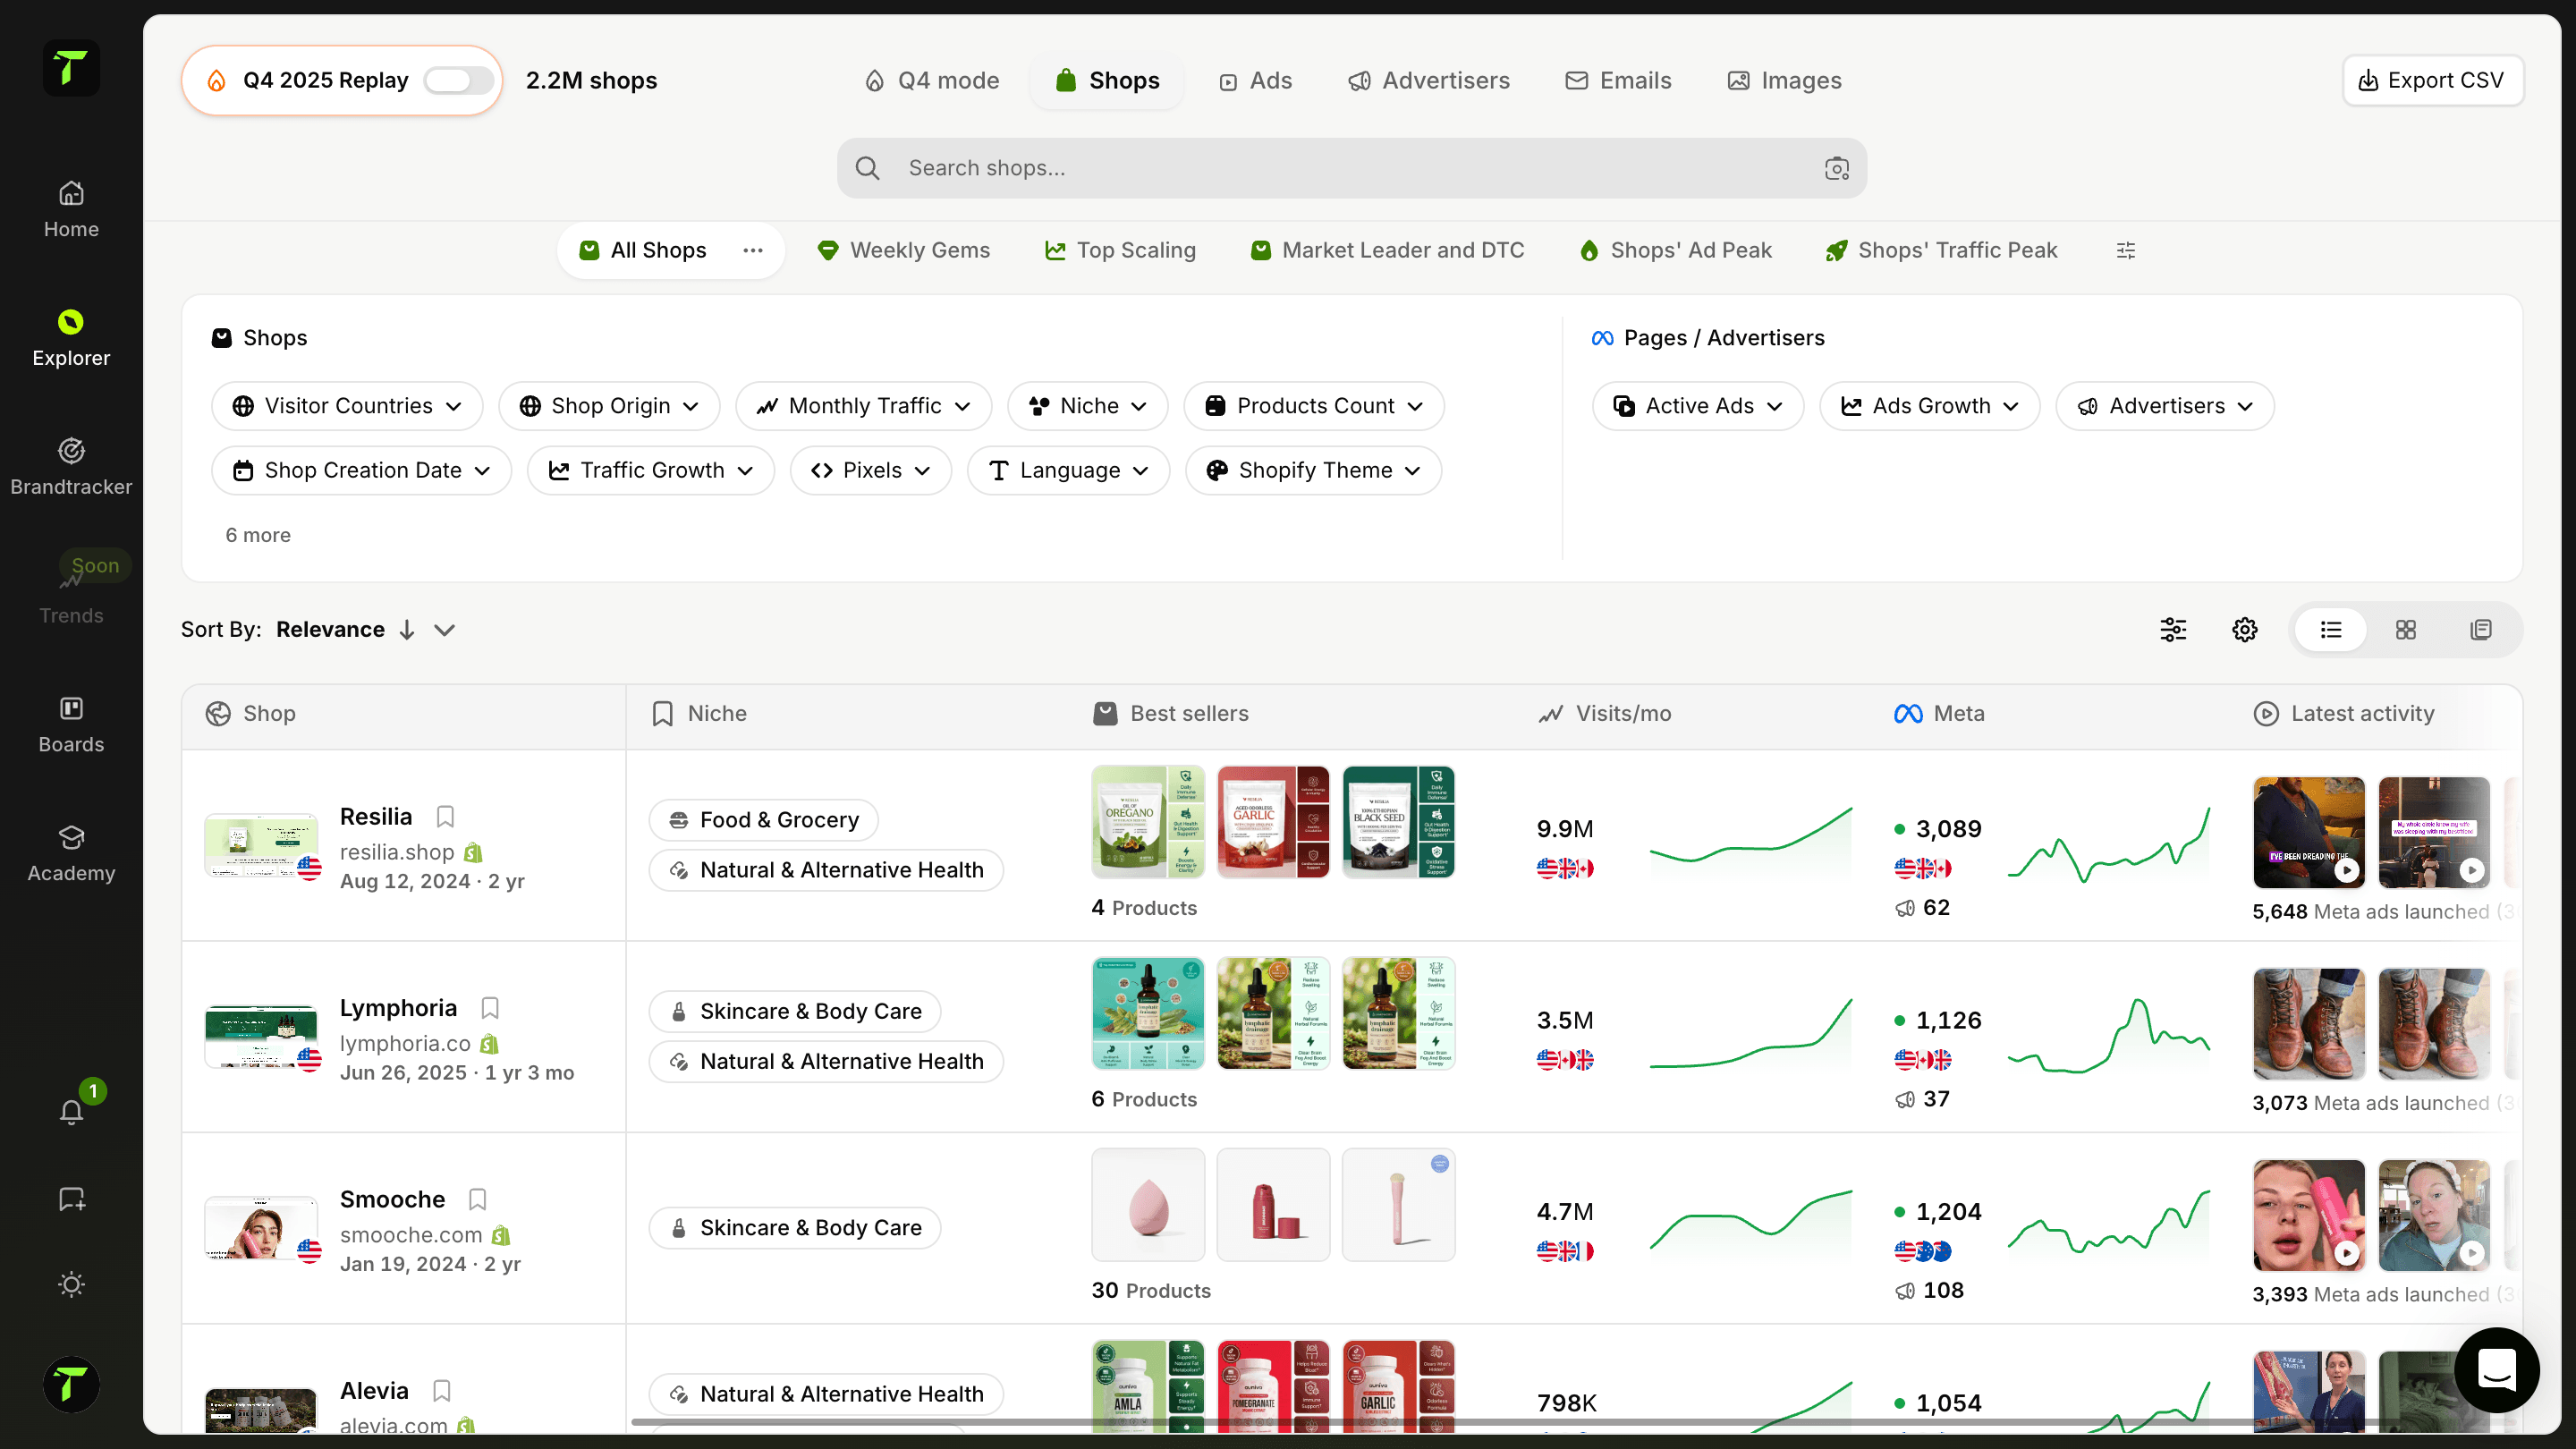
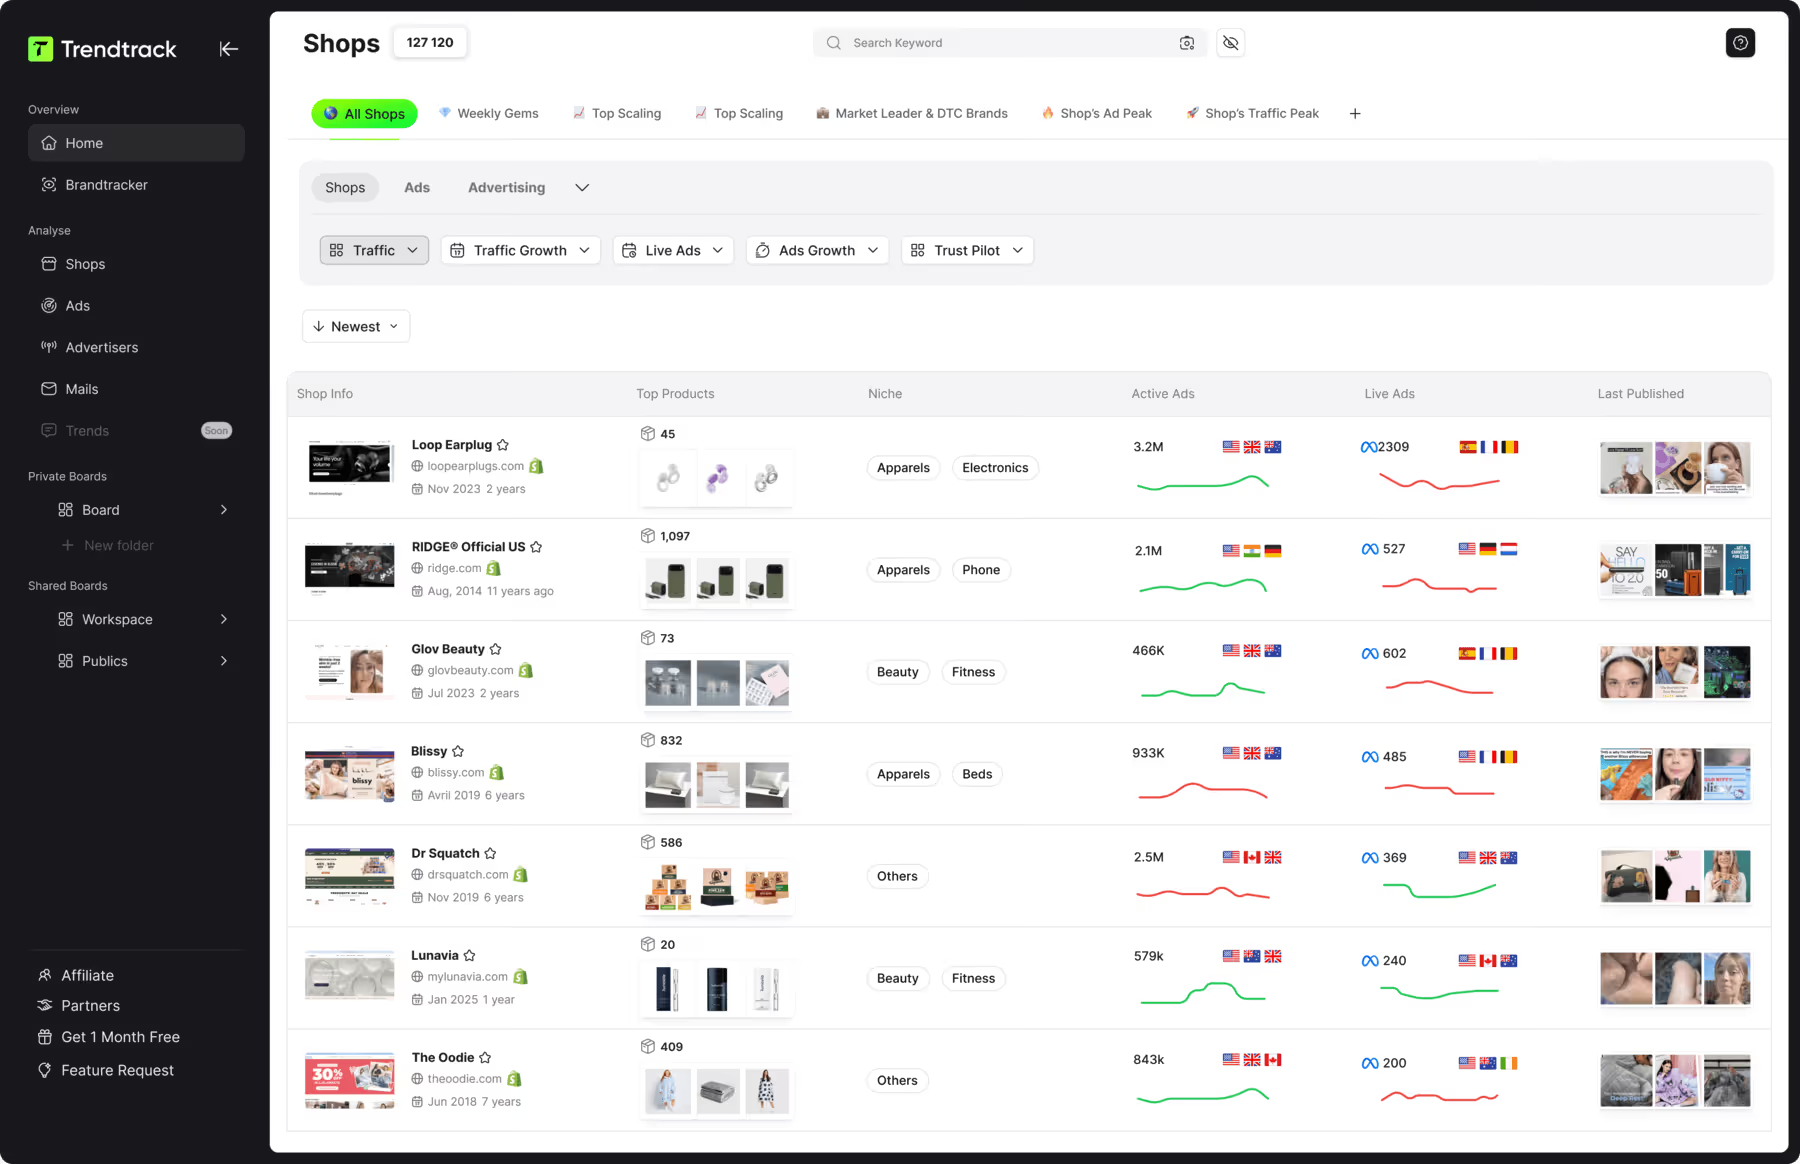
Trendtrack available at app.trendtrack.io/en/sign-up reveals their full Google Ads activity including Search, Shopping, YouTube and Display formats, with 700,000+ brand profiles refreshed every 24 hours.
In this article we explain step by step how to connect Google Ads to Shopify.
What Do You Need Before Connecting Google Ads to Shopify?
Most connection failures come from missing prerequisites rather than from the setup itself. Checking these first saves considerable time.
A custom domain
Google requires a verified custom domain rather than a myshopify.com address. Your store must be reachable at your own URL, and that domain must be claimed in Merchant Center.
This is the prerequisite that blocks the most beginners, since a store still running on its default Shopify subdomain cannot complete verification.
A publicly accessible storefront
Your store must be live and visible, not protected by a password. Google needs to crawl your product pages to verify that the information in your feed matches what customers actually see.
Remove any password protection before starting, and confirm your pages load correctly for a visitor who is not logged in.
Complete store policies
Google enforces this strictly. You need visible and accessible shipping policies, return and refund policies, terms of service and contact information.
These must be genuinely reachable from your store, typically linked in your footer. A merchant account suspended for missing policies is one of the most common rejections, and reinstatement takes days.
Compliant products
Your catalogue must respect Google Shopping policies. Certain categories are restricted or prohibited entirely, including some supplements, weapons, adult content and counterfeit goods.
Verify your products before syncing rather than discovering a disapproval after launch.
A quality product feed
Your product titles, descriptions, images and attributes determine your Shopping performance more than your bidding strategy does, since Google matches search queries against your feed data.
Before connecting, ensure each product has a descriptive title including brand, type and key attributes, a clear image on a plain background, an accurate price matching your storefront, and correct availability status.
Adding GTINs where applicable significantly improves your visibility, since Google uses them to match products across merchants.
A Google account with the right access
You need a Google account with admin rights on your Merchant Center and Google Ads accounts, or the ability to create them during setup.
If your agency or a previous collaborator holds these accounts, secure access before starting rather than midway through.
Accurate tax and shipping settings
Your Shopify shipping rates and tax configuration must match what Google receives. A discrepancy between the shipping cost shown in Shopping results and the one charged at checkout triggers disapprovals.
Configure these properly in Shopify first, since the app pulls directly from those settings.
A clear budget and objective
Technically optional, practically essential. Decide what you are optimizing for before launching: first sales, catalogue visibility, or scaling a validated product.
Launching without that clarity leads to spreading budget across campaign types that serve different purposes.
How to Connect Google Ads to Shopify Step by Step?
The process takes roughly thirty minutes once your prerequisites are in place. Here is how to proceed.
Install the Google & YouTube app from the Shopify App Store
Connect your Google account
Link or create your Google Merchant Center account
Claim and verify your domain
Configure your product sync settings
Link or create your Google Ads account
Verify conversion tracking is active
Wait for product approval before launching
The first step is to install the Google & YouTube app from your Shopify admin. This is the official integration maintained by Google, and it handles the entire connection without manual code.
The second step is to connect your Google account, using one with admin rights on the accounts you intend to link.
The third step is to link your Merchant Center. If you already have one, connect it directly. If not, the app creates it for you, which is generally the simpler path for a first setup.
The fourth step is to claim and verify your domain. The app handles this automatically in most cases, since Shopify can confirm ownership on your behalf.
The fifth step is to configure your product sync. Choose which collections to send, set your target markets and confirm your shipping and tax settings carry over correctly. Your entire catalogue syncs automatically and updates when you change a product.
The sixth step is to link your Google Ads account. Here too, the app creates one if needed, though an existing account with history is preferable since it retains learning data.
The seventh step is to verify conversion tracking. The app installs the tag automatically, but confirm purchases register in Google Ads before spending. Enable Enhanced Conversions at this stage for meaningfully better attribution.
The eighth step is to wait for approval. Product review typically takes three to five days, and launching campaigns before approval wastes budget on items that cannot serve.
How to Verify Your Connection Is Working?
Assuming the setup worked because the app shows green is the fastest way to waste a budget. Here is what to check before spending.
Product approval status in Merchant Center, confirming your items show as approved rather than pending or disapproved
Feed accuracy by comparing a few product prices and availability against your live storefront
Domain verification showing as claimed in your Merchant Center settings
Conversion tracking registering a real purchase in Google Ads within 24 hours
Enhanced Conversions marked as active rather than simply enabled
Account linking visible in both Google Ads and Merchant Center, not just in Shopify
Shipping and tax settings matching between Shopify and Merchant Center
The most important verification is the test purchase. Place a genuine order on your store, then check that it appears in Google Ads conversions within 24 hours. Refund yourself afterwards if you wish, but do not skip this step. A tracking tag that looks installed but fires incorrectly is invisible until you have spent a month optimizing against phantom data.
The second priority is your product approval status. Merchant Center flags disapprovals with specific reasons, and the most frequent are price mismatches, missing GTINs, policy page issues and image quality. Fix these before launching rather than discovering mid-campaign that half your catalogue cannot serve.
Watch also for the pending state. Products under review cannot appear in Shopping results, which means campaigns launched too early spend on a fraction of your catalogue while reporting looks normal.
A detail worth checking: price and availability sync. Shopify pushes updates automatically, but a discrepancy between your feed and your storefront triggers disapprovals. Compare three or four products manually.
Finally, confirm the connection appears in both directions. Seeing the link in Shopify is not sufficient, since the accounts must also show each other as linked.
What Are the Most Common Connection Problems?
A handful of issues account for most failed setups. Here are the ones you are most likely to hit.
Merchant Center account suspension
This is the most frequent and the most disruptive, since it blocks everything downstream. The usual causes are missing or incomplete store policies, meaning shipping, returns, terms and contact information not clearly accessible from your storefront.
Other triggers include misrepresentation, where your advertised price or availability differs from what a visitor actually sees, and restricted products that violate Shopping policies.
Fix the underlying issue first, then request a review. Submitting without correcting anything simply restarts the delay.
Product disapprovals
Individual items can be rejected while your account remains healthy. The recurring causes are price or availability mismatches between your feed and your storefront, missing GTINs on branded products, poor image quality or images containing promotional overlays, and insufficient product titles lacking brand or type.
Merchant Center lists the specific reason for each disapproval, so work from that list rather than guessing.
Domain verification failure
Usually caused by a missing custom domain or by the store still running on its myshopify.com address. The app handles verification automatically in most cases, but a domain purchased elsewhere and pointed at Shopify sometimes requires manual DNS confirmation.
Conversion tracking not firing
The tag appears installed but no conversions register. This frequently stems from a theme conflict, a custom checkout modification or a third-party app interfering with the script.
Place a test order and verify within 24 hours. If nothing appears, reinstall the app and check your theme for conflicting tracking code.
Shipping and tax mismatches
Google compares the shipping cost in your feed against what you charge at checkout. A discrepancy triggers disapprovals across your catalogue.
Configure these properly in Shopify first, since the app pulls directly from those settings rather than from Merchant Center.
What to Do After Connecting Google Ads to Shopify?
The connection is infrastructure, not strategy. Here is what comes next.
Optimize your product feed before spending
Study what competitors are already running
Start with a single campaign type
Set a realistic test budget
Let campaigns exit the learning phase
Analyze performance by product rather than in aggregate
Scale only what proves profitable
The first step is to optimize your product feed. Your titles, images and attributes determine Shopping performance far more than your bidding strategy, since Google matches queries against feed data. Rewrite titles to include brand, type and key attributes, and add GTINs wherever applicable. This costs nothing and improves everything downstream.
The second step is to study your competitors. Launching without knowing which keywords, formats and landing pages already work in your category means paying to learn what you could have observed. This is where most budget disappears in the first month.
The third step is to start with one campaign type. Performance Max suits most stores initially since it covers Shopping, Search, YouTube and Display from a single setup. Running three campaign types simultaneously on a small budget splits your data and prevents any of them from learning.
The fourth step is to set a realistic test budget. Google needs volume to optimize, and a budget too small never generates enough conversions to exit the learning phase.
The fifth step is to let campaigns learn, typically seven to fourteen days. Cutting at 48 hours means paying for the learning phase without ever collecting its benefit, which is the most common and most expensive beginner mistake.
The sixth step is to analyze by product rather than in aggregate. A satisfactory overall ROAS frequently masks one profitable product funding several losing ones.
The seventh step is to scale only what works, raising budget by 20 to 30% increments rather than doubling.
FAQ about connecting Google Ads to Shopify
s the Google & YouTube app free?
Yes, the app itself costs nothing to install or use. You pay only for your advertising spend in Google Ads, with no commission taken by Shopify or Google on the integration. The app handles your product sync, conversion tracking and account linking at no charge. This makes it the default choice over third-party feed management tools, which typically charge monthly fees and become genuinely useful only once your catalogue reaches several thousand products with complex feed requirements.
How long does product approval take?
Usually three to five business days for an initial sync, though it can extend to a week during high-volume periods. Individual product updates review faster once your account is established, often within 24 to 72 hours. Launching campaigns before approval wastes budget, since disapproved or pending items cannot serve in Shopping results while your reporting still looks normal. Check your Merchant Center diagnostics before activating any campaign, and work through disapprovals from the specific reasons listed rather than guessing.
Can I connect an existing Google Ads account?
Yes, and you generally should. An existing account carries conversion history and learning data that a new account lacks entirely, which means campaigns optimize faster. You need admin access on that account to complete the link. If an agency or former collaborator holds those credentials, secure access before starting rather than discovering the blocker midway through setup. Creating a new account is simpler but you restart the learning phase from zero.
Do I need a Merchant Center account separately?
Not necessarily. The Google & YouTube app creates one for you during setup if you do not already have one, which is the simpler path for a first configuration. If you already operate a Merchant Center account, link it rather than creating a duplicate, since running two accounts for the same domain causes verification conflicts. Your domain can only be claimed by one account at a time.
Why are my products disapproved?
The most frequent causes are price or availability mismatches between your feed and your storefront, missing GTINs on branded products, image quality issues including promotional overlays, insufficient product titles lacking brand or type, and missing store policies. Merchant Center lists the specific reason for each disapproval in its diagnostics section, so work directly from that list. Fix the underlying issue before requesting a review, since resubmitting without correction simply restarts the delay.
Should I use Performance Max or Standard Shopping?
Performance Max suits most stores starting out, since it covers Shopping, Search, YouTube and Display from a single setup and requires less manual management. Standard Shopping offers more granular control over bidding and product groups, which becomes valuable once you have enough data to know which products deserve different treatment. Running both simultaneously on a limited budget splits your conversion data and prevents either from exiting the learning phase properly.
Useful Sources:

.avif)
Ready to build a million-dollar brand?
.avif)